Do you want to learn about raised panel cabinet installation? Installing raised panel cabinets can be an excellent choice to give your kitchen a fresh and stylish upgrade. Raised panel cabinets offer a timeless and elegant look that significantly enhances your kitchen’s aesthetic appeal and functionality.
Whether you’re a DIY enthusiast or new to cabinet installation, this step-by-step guide will walk you through installing raised panel cabinets. By following these instructions carefully, you’ll be able to achieve professional-looking results and create a beautiful kitchen space that you’ll love with Badger Cabinets. Let’s get started!
Understanding Raised Panel Cabinets
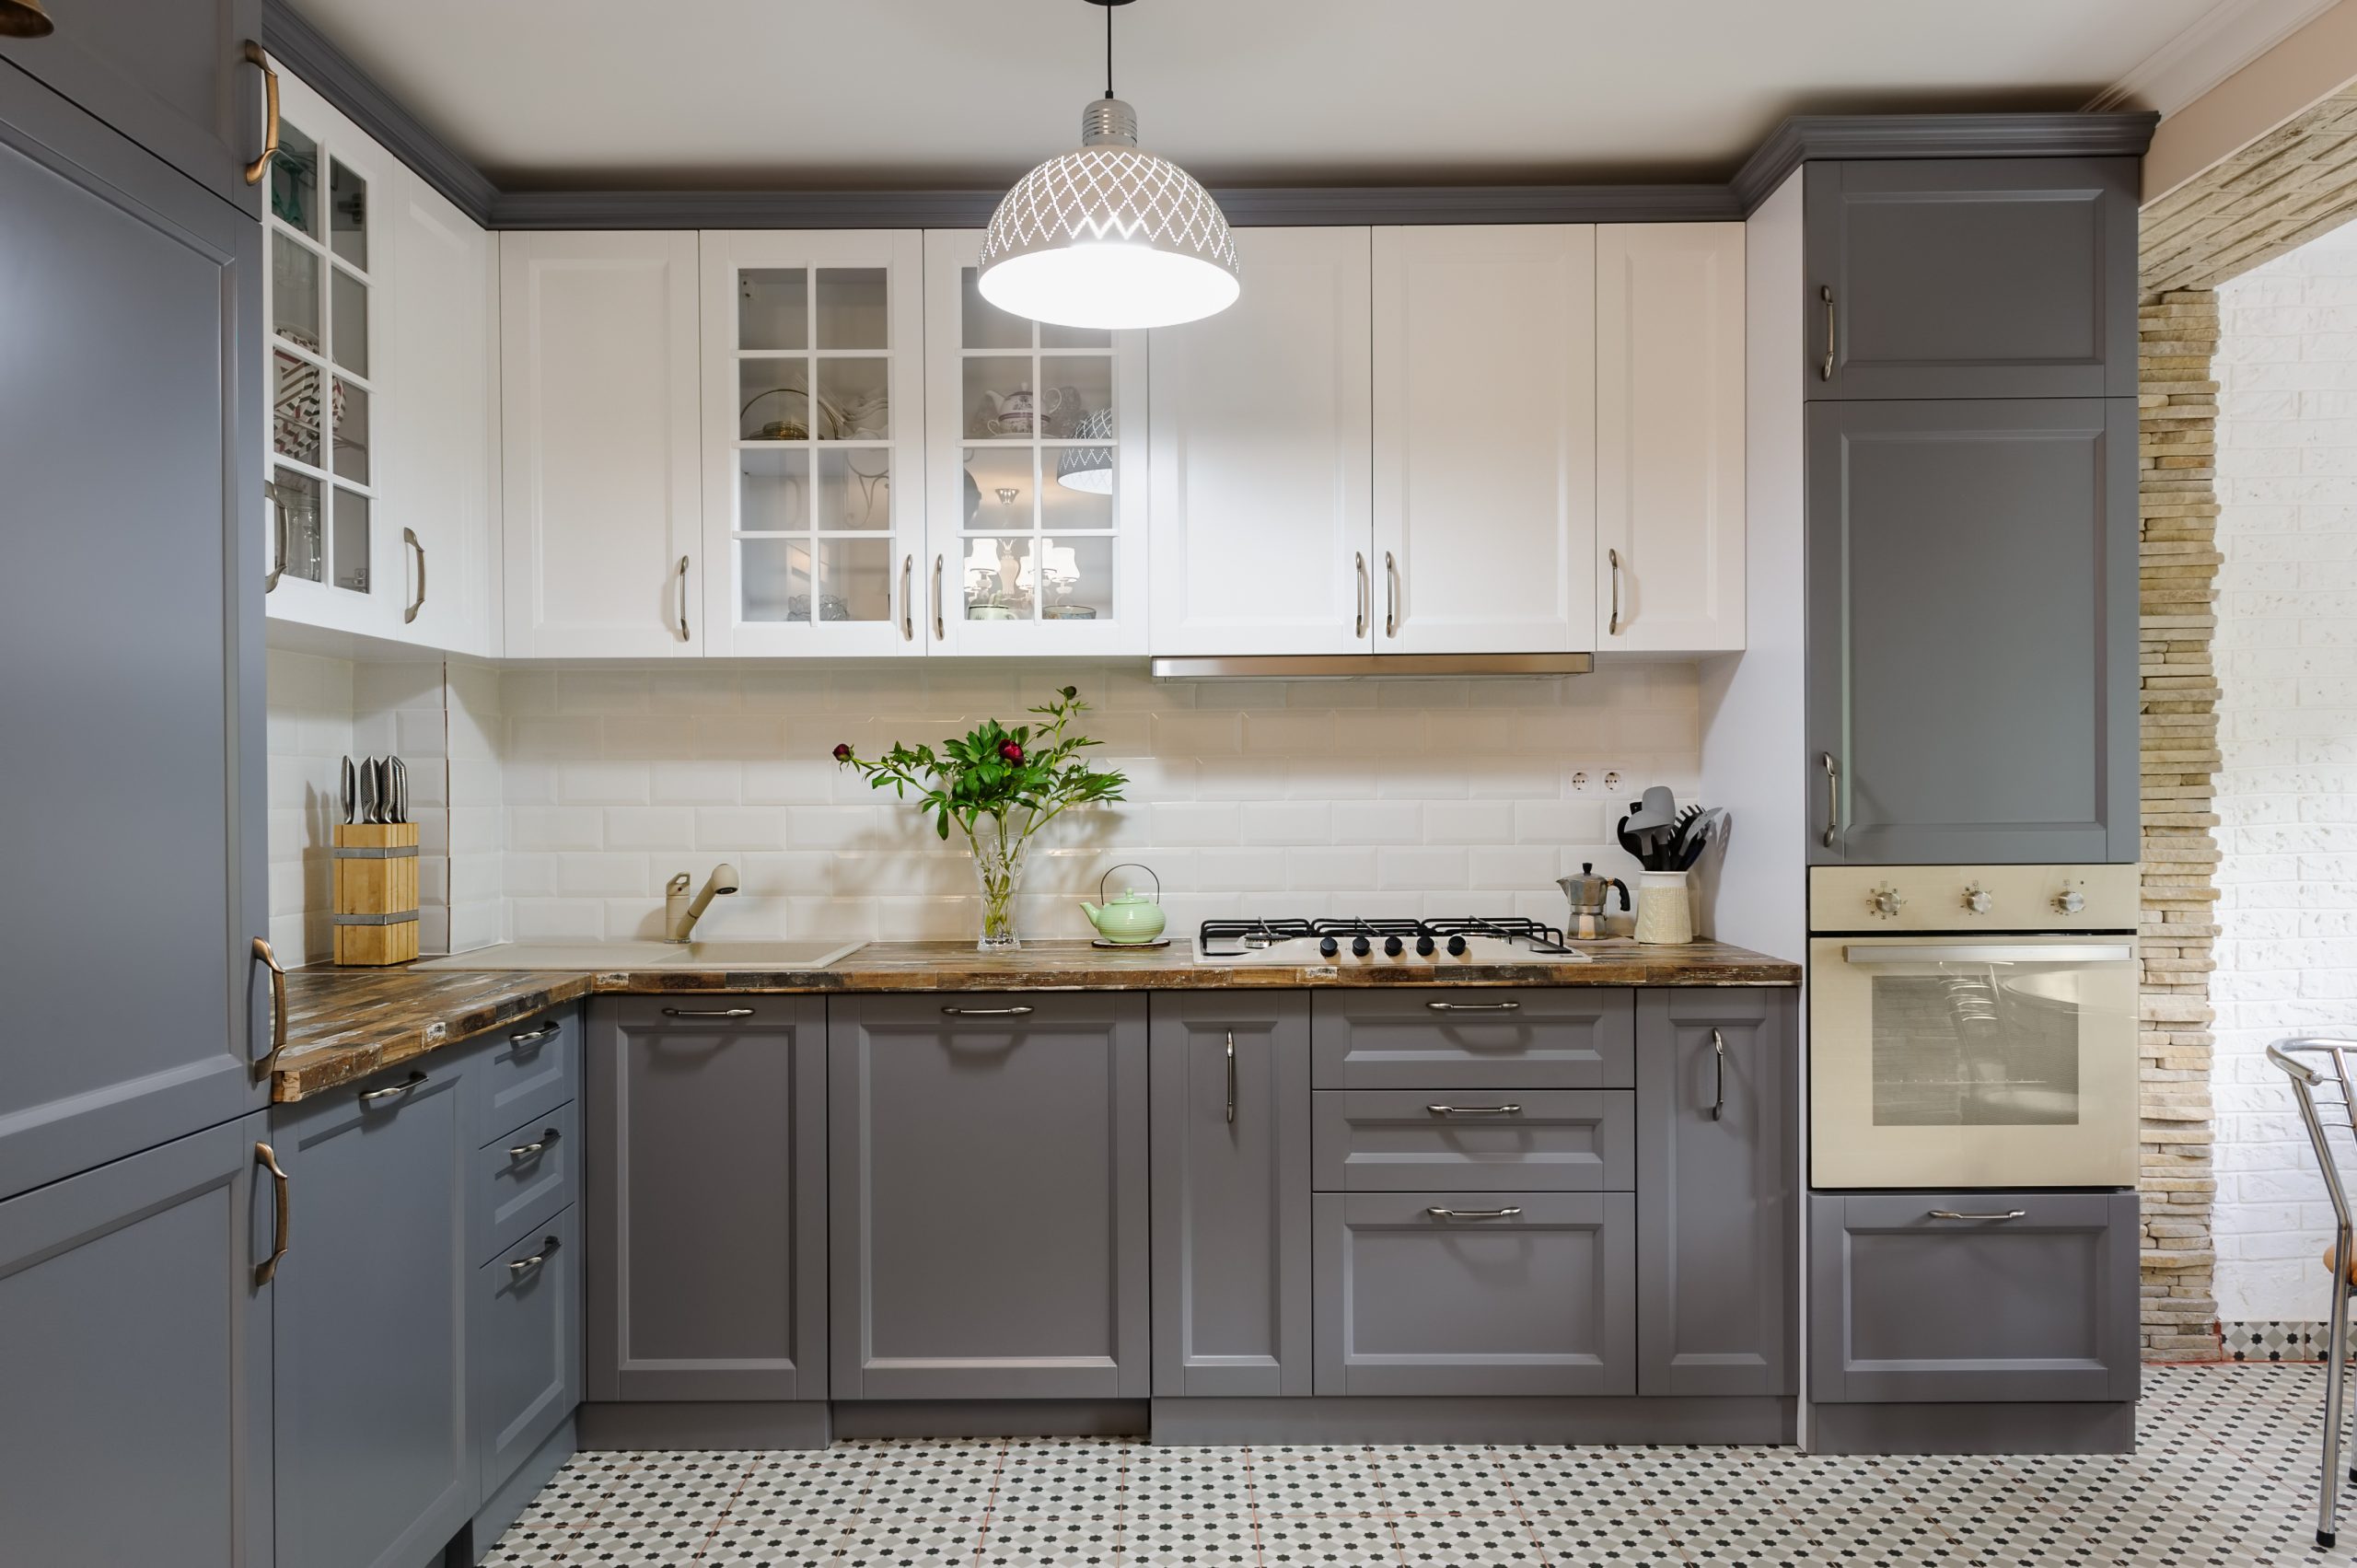
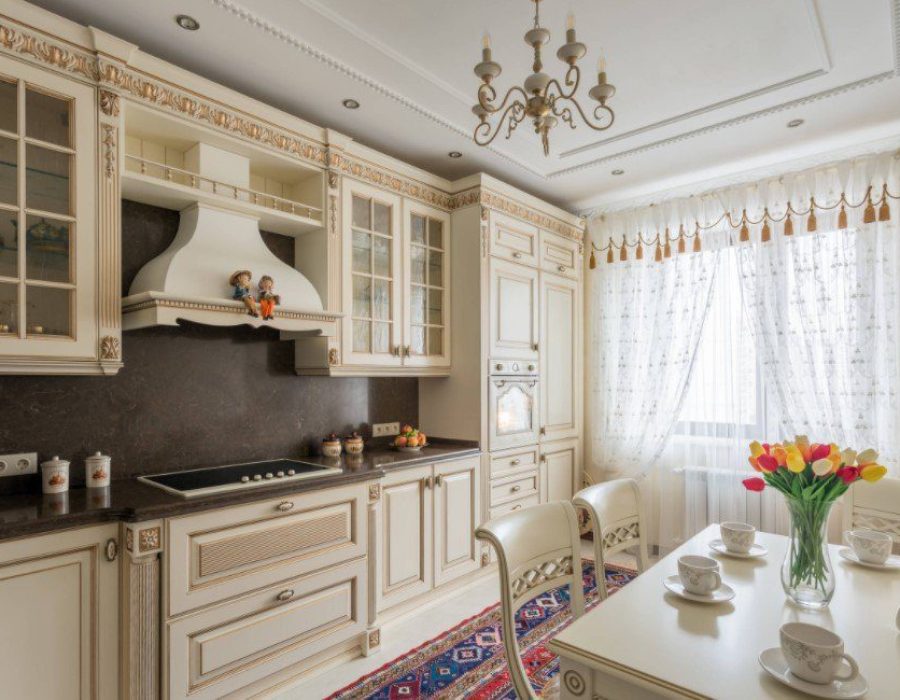
Raised panel cabinets are a cabinet design you will mostly find in kitchen and bathroom cabinetry. They are known for their classic and traditional appearance. The term “raised panel” refers to the central panel of the cabinet door, which is raised or elevated from the surrounding frame. Here are some key features and aspects of them before you learn about installing raised panel cabinets:
- Panel Design: A raised panel door’s central panel usually has a decorative profile. It can have various shapes, such as arches, squares, rectangles, or ovals. These panels usually have intricate detailing, and you can customize them to match the space’s overall style.
- Frame Construction: Raised panel cabinets have a frame surrounding the central panel. This frame provides structural support and adds visual interest to the cabinet design. You can create the frame using different techniques, including mitered joints or cope-and-stick joinery.
- Three-Dimensional Appearance: The raised panel on the cabinet door creates a three-dimensional effect. The center panel is thicker than the surrounding frame and is elevated; this adds depth and dimension to the cabinet’s overall aesthetic.
- Traditional Style: Raised panel cabinets are often associated with traditional or classic design styles. You will usually see them in formal or elegant settings, but you can also use them to add a touch of sophistication to more contemporary spaces.
- Material Options: Raised panel cabinets are made from various materials, like solid wood, veneers, or engineered wood products. Wood species such as oak, maple, cherry, and mahogany are popular for creating raised panel cabinet doors.
- Finishing Options: You can finish raised panel cabinets differently to complement the desired aesthetic. You can stain them to enhance the natural beauty of the wood grain or paint them in various colors to match the overall decor scheme.
Raised Panel Cabinet Installation
Installing raised panel cabinets is essential to creating a functional and visually appealing kitchen or bathroom. Your raised panel cabinets will be securely mounted, leveled, and aligned by understanding the installation process. This means you will have a visually pleasing outcome and cabinets that function smoothly and efficiently. So let’s dive into the raised panel cabinet installation process and discover the steps required to bring your cabinet vision to life.
Tools and Materials Required
Before you learn how to install raised panel cabinets, gather all the necessary tools and materials. Some essential tools include a measuring tape, level, screwdriver, power drill, hammer, chisel, saw, clamps, and brushes. Additionally, you’ll need wood glue, screws, nails, cabinet hardware, countertop material, paint or stain, and cleaning supplies. These readily available items will make the installation process smoother and more efficient.
Measuring and Planning
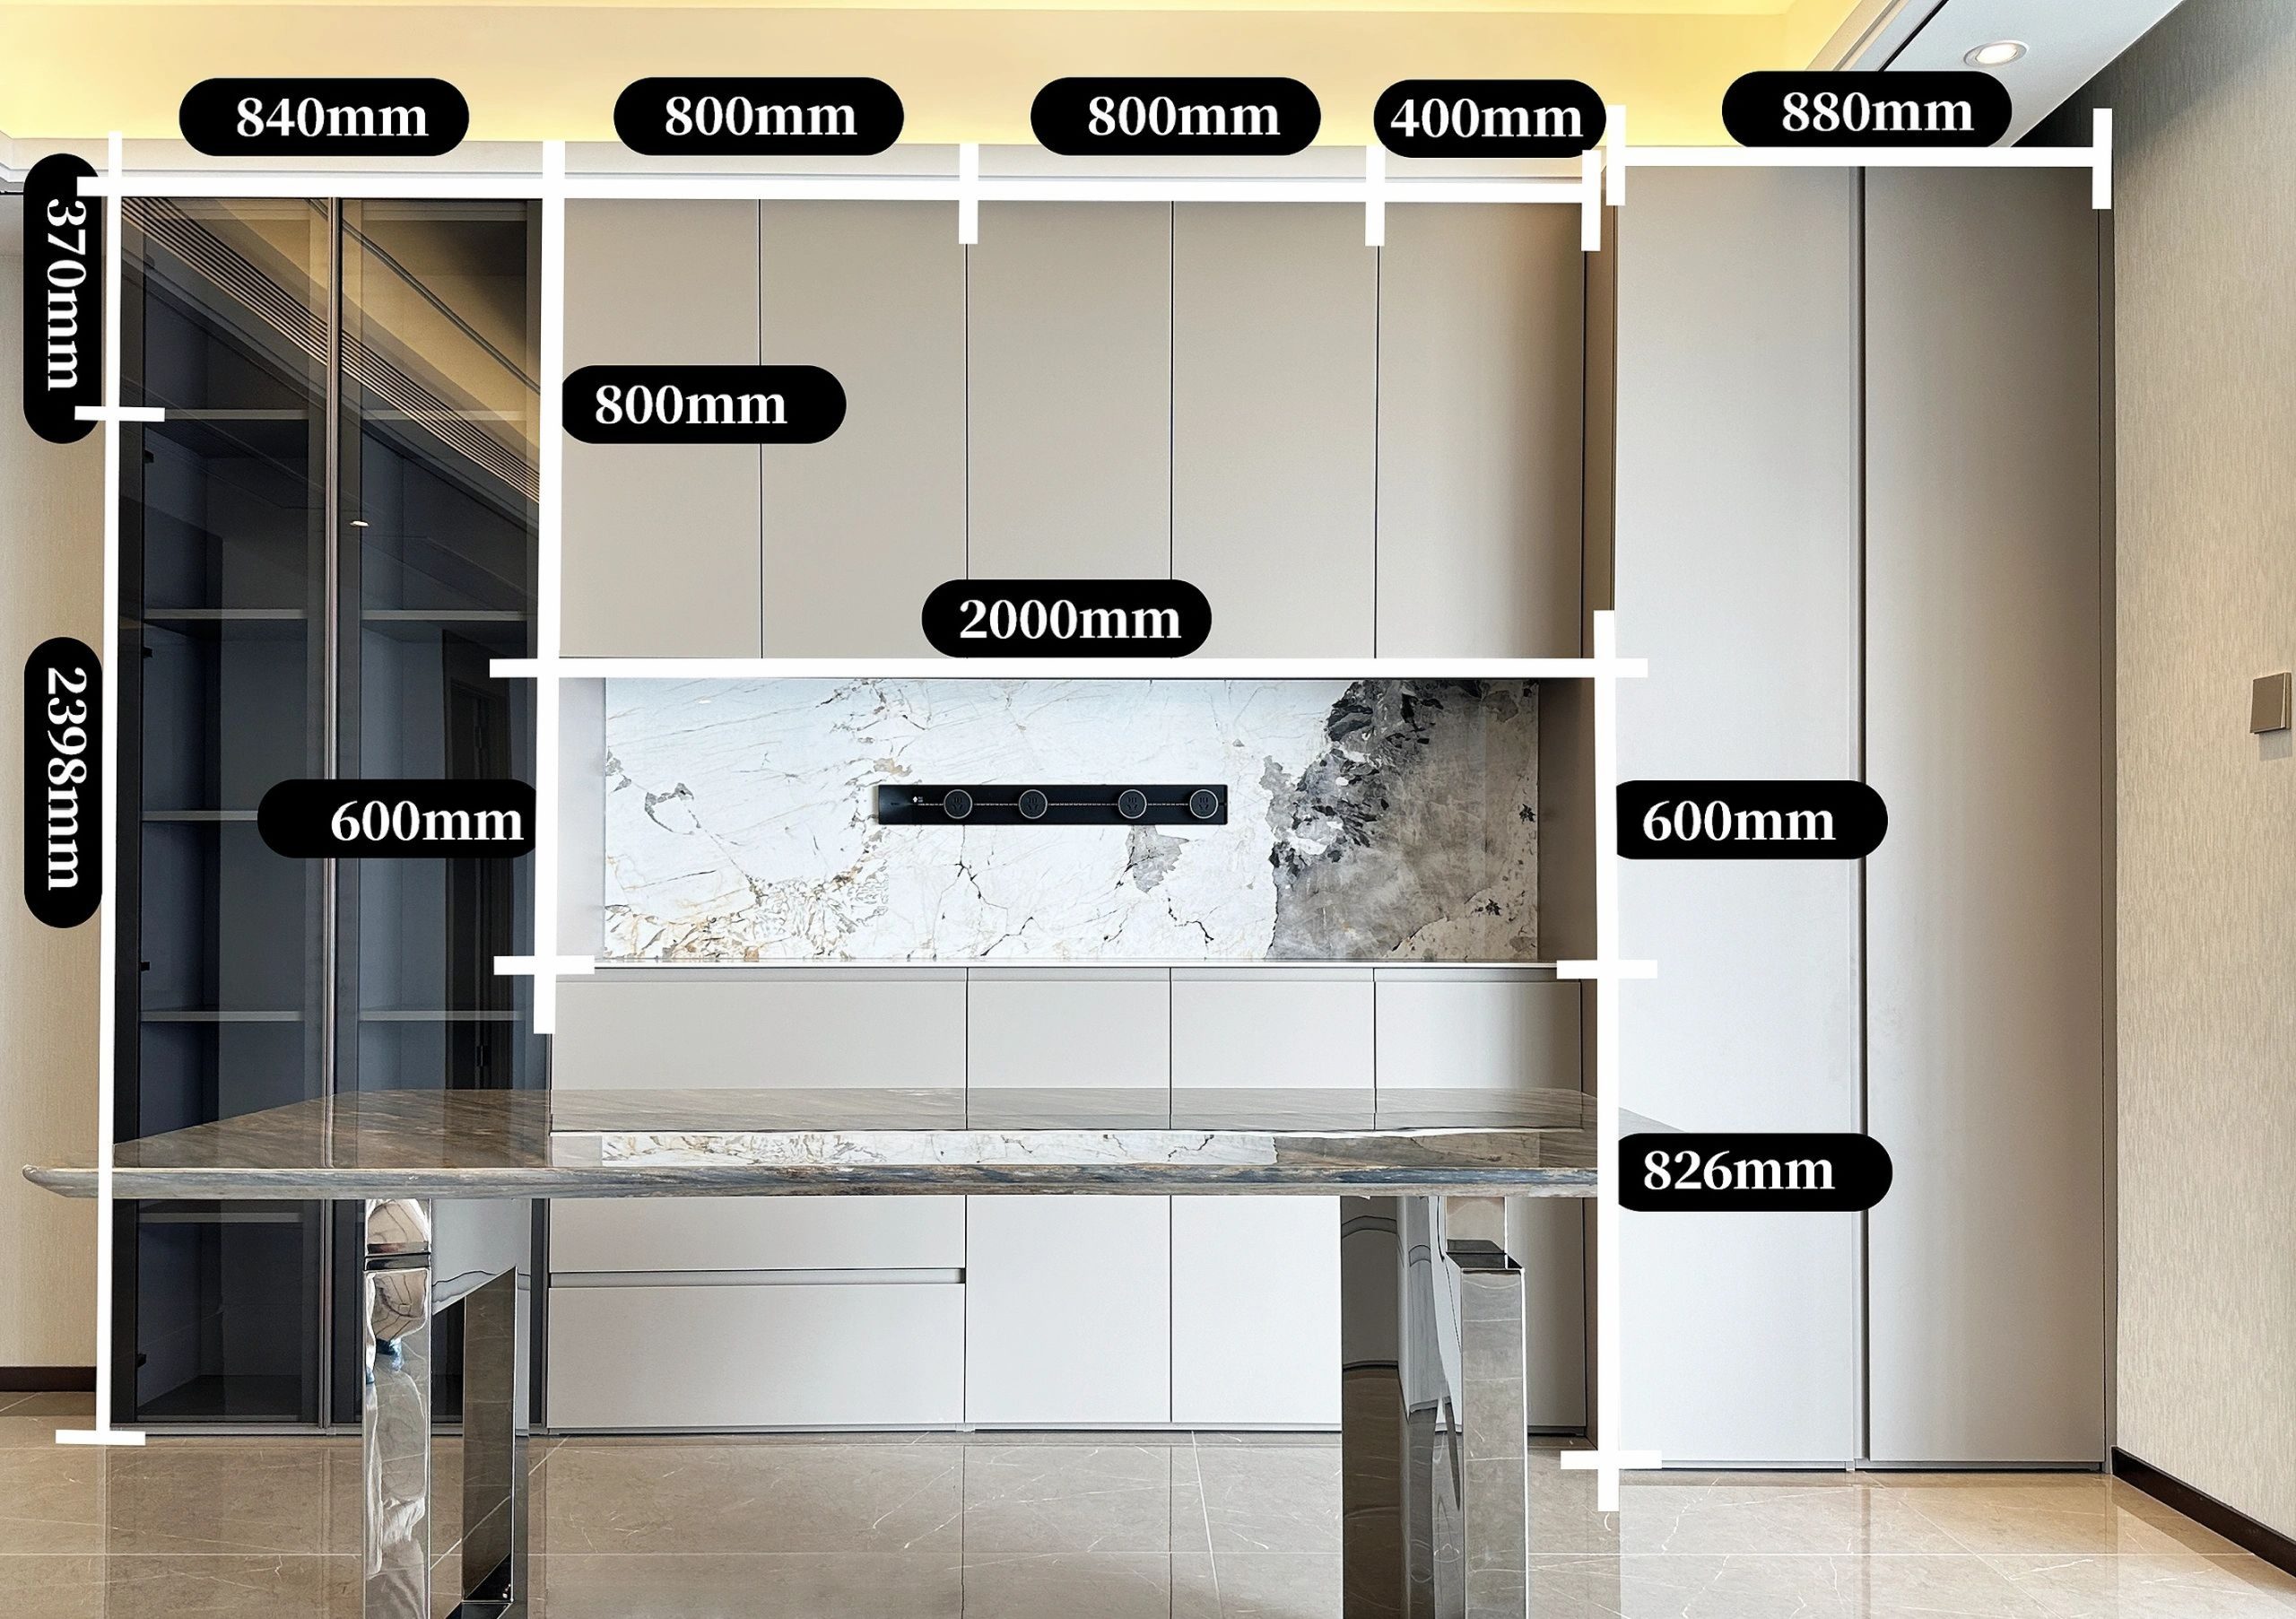
You need to measure accurately for a successful DIY raised panel cabinet installation. Begin by measuring the dimensions of your kitchen, including the height, width, and depth of the available space. With these measurements, you can plan the layout of your raised panel cabinets, ensuring proper placement and functionality. Consider any existing features, such as windows, doors, and electrical outlets, when creating your layout plan.
Removing Existing Cabinets
If you have existing cabinets in your kitchen, you’ll need to remove them before installing the new raised panel cabinets. Start by emptying the cabinets and removing any shelves, doors, or hardware attached to them. Carefully unscrew or remove any screws or nails securing the cabinets to the wall. Take your time during this step to avoid damaging the walls or surrounding structures.
Preparing the Wall and Floor
After removing the old cabinets, inspect the walls and floors for any damages or imperfections in your raised panel cabinet installation. Repair or patch any holes, cracks, or uneven surfaces to ensure a smooth installation. Clean the walls and remove any debris or grease that may affect the adherence to the new cabinets. It’s essential to have a clean and level surface to ensure the stability and longevity of the raised panel cabinets.
Assembling the Cabinets
Follow the manufacturer’s instructions to assemble the raised panel cabinets. Lay out all the components and identify each piece before beginning the assembly process. Use clamps, wood glue, and screws to join the different sections of the cabinets securely. Double-check the alignment and make any necessary adjustments to ensure a perfect fit.
Installing the Base Cabinets
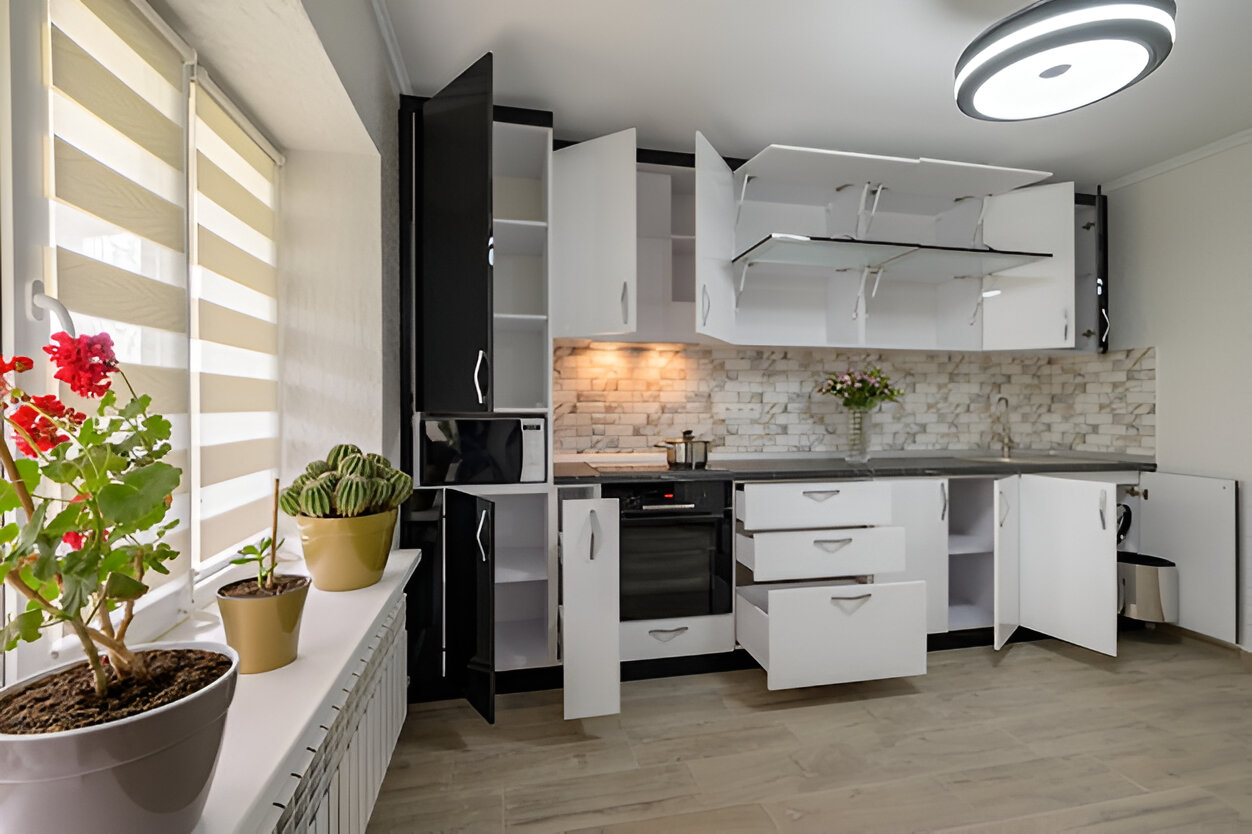
Start the installation by installing the base cabinets. Begin with the corner cabinets and work your way out. Use a level to ensure the cabinets are perfectly straight and level. Securing them to the wall studs using screws lets them be firmly anchored. Proper installation of the base cabinets forms the foundation for the rest of the cabinet installation process.
Mounting the Wall Cabinets
Once the base cabinets are in place, it’s time to mount the wall cabinets in your raised panel cabinet installation. Begin with the corner cabinets and align them with the base cabinets. Use a level to ensure they are perfectly straight and level. You can secure the wall cabinets to the studs with screws to give them support. Proper alignment and secure mounting will ensure the stability and safety of the wall cabinets.
Adding the Raised Panel Doors
Attach the raised panel doors to the cabinets using the manufacturer’s recommended hardware. You need to align the doors properly so they open smoothly. Adjust the hinges if necessary to achieve a perfect fit. Take your time during this step, as the raised panel doors contribute significantly to the overall aesthetic of the cabinets. Test the doors multiple times to ensure they operate smoothly and take advantage of the raised panel benefits, such as their durability, beauty, and insulation properties.
Installing the Cabinet Hardware
Install the cabinet hardware, such as handles and knobs, to add the finishing touches. Measure and mark the locations for each piece, ensuring they are evenly spaced and aligned. Use a power drill or screwdriver to attach the hardware securely to the doors and drawers. The choice of hardware can enhance the overall look of the raised panel cabinets, so choose styles that complement your kitchen design.
Painting or Staining the Cabinets
To enhance the appearance of your raised panel cabinets, consider painting or staining them according to your desired finish. Sand the surfaces lightly, apply a primer if needed, and use brushes or rollers to paint or stain the cabinets evenly. Allow them to dry completely before reattaching the doors and hardware. The choice of paint or stain color can significantly impact the overall aesthetics of your kitchen.
Cleaning and Final Touches
Clean the cabinets thoroughly, removing any dust or debris accumulated during installation. Check for any loose screws or hardware and tighten them if necessary. It would help to inspect the cabinets to ensure everything is secured properly. Pay attention to small details and make necessary adjustments to achieve a polished and professional look.
How To Build Raised Panel Cabinet Doors
Creating DIY raised panel cabinet doors can be a rewarding project that adds a touch of sophistication to your kitchen or bathroom cabinets. Here’s a step-by-step guide to help you through the process:
Cabinet installation tools:
- Cabinet door material (solid wood is preferable)
- Raised panel router bit set
- Router
- Table saw or circular saw
- Measuring tape
- Pencil
- Safety gear (goggles, ear protection, dust mask)
- Clamps
- Wood glue
- Sandpaper
- Stain or paint (optional)
- Clear finish (varnish, polyurethane, etc.)
Step-by-Step Guide:
1. Design and Measurement: Measure the dimensions of your cabinet openings and determine the size of the doors you need. Decide the design and size of the raised panel you want on each door.
2. Prepare the Wood: Cut the cabinet door material to the desired dimensions using a table or circular saw. Make sure the edges are clean and even.
3. Router Setup: Install the raised panel router bit set into your router according to the manufacturer’s instructions. Adjust the router bit depth to achieve the desired depth for the raised panel.
4. Routing the Raised Panel: Lay the cabinet door flat on a stable surface. Use clamps to secure it in place. Carefully run the router along the edges of the panel, making multiple passes to create the raised panel profile gradually. Take your time and maintain a steady pace to ensure clean and accurate results.
5. Router the Stiles and Rails: Switch to a different router bit to create the decorative edge profile on the stiles (vertical pieces) and rails (horizontal pieces) of the cabinet door. Run the router along the edges to create a cohesive look.
6. Dry Fit and Assembly: Dry fit the stiles, rails, and raised panels together to ensure they fit well and have a seamless look. Apply wood glue to the joints and assemble the pieces. Use clamps to hold the parts together while the glue dries. Follow the recommended drying time on the glue label.
7. Sanding and Finishing: W carefully sand the entire cabinet door once the glue is dry to smooth out any rough edges or surfaces. Start with coarse grit sandpaper and gradually move to finer grits for a polished finish.
8. Stain or Paint (Optional): Apply a stain or paint to the cabinet doors, following the manufacturer’s instructions. Allow the stain or paint to dry completely before proceeding.
9. Apply Clear Finish: Apply a clear protective finish, such as varnish or polyurethane, to enhance the appearance and durability of the doors. Follow the instructions on the finished product for application and drying times.
10. Install Hardware: Attach the hardware of your choice to the cabinet doors, such as handles or knobs, following the manufacturer’s instructions.
Installing the Countertop
Measure and cut the countertop to fit the cabinets’ dimensions for your raised panel cabinet installation. Place the countertop on the base cabinets and secure it using the recommended method, whether adhesive, brackets, or screws. Ensure the countertop is level and secure before proceeding to the next step. The countertop serves as a functional workspace and a visual element that completes the look of your raised panel cabinets.
Connecting Electrical and Plumbing
Hire a professional to connect the electrical and plumbing fixtures to the cabinets if necessary. Make all the connections following local building codes and safety regulations. This step is crucial to ensure the functionality of your kitchen. Your electrical and plumbing systems will be installed correctly if you hire a licensed professional.
Maintenance and Care
Establish a regular maintenance routine to keep your raised panel cabinets looking their best. Clean them regularly using mild detergent and warm water. Avoid using harsh chemicals or abrasive materials that could damage the finish. Check for any signs of wear or damage and address them promptly to prevent further issues. Regular maintenance will prolong the lifespan and beauty of your raised panel cabinets.
Conclusion
Installing raised panel cabinets in kitchen can elevate the appearance while improving its functionality. Following this step-by-step guide, you can complete the installation and enjoy the transformation. Remember to take accurate measurements, plan carefully, and follow the instructions provided by the manufacturer. With patience and attention to detail, you’ll achieve stunning results that will enhance your kitchen for years in Oak Creek, Wisconsin.
FAQS
Can I install raised panel cabinets, or should I hire a professional?
While it’s possible to install raised panel cabinets yourself, it requires a certain level of skill and knowledge. If you’re comfortable with DIY projects and have experience with cabinet installation, you can do it yourself. However, hiring a professional for a seamless installation is advisable if you’re unsure or lack the necessary tools and expertise.
How long does it take to install raised panel cabinets?
The installation time can vary depending on the complexity of your kitchen layout and the project size. On average, raised panel cabinet installation can take several days to a week, considering the time required for measuring, planning, assembly, and finishing touches.
What is the cost of raised panel cabinets?
The cost of raised panel cabinets depends on various factors, including the material, size, style, and brand. Custom-made cabinets tend to be more expensive than pre-built options. It’s best to consult with cabinet suppliers or contractors to get accurate pricing based on your requirements.
Can I customize the design of raised panel cabinets?
Absolutely! Raised panel cabinets offer ample customization options. You can choose from various wood species, finishes, hardware, and decorative accents to create a unique look that complements your kitchen style.
Are raised panel cabinets easy to clean and maintain?
Raised panel cabinets are relatively easy to clean and maintain. Regular dusting and occasional wiping with a mild detergent solution are usually sufficient to keep them looking their best. Avoid using abrasive materials or harsh chemicals that could damage the finish.
How long do raise cabinets take to install?
On average, kitchen cabinet installation will be completed between 2-3 days. Depending on the size of the home and the extent of customization, larger kitchens may require an additional 1-2 days.


